{Pin It}
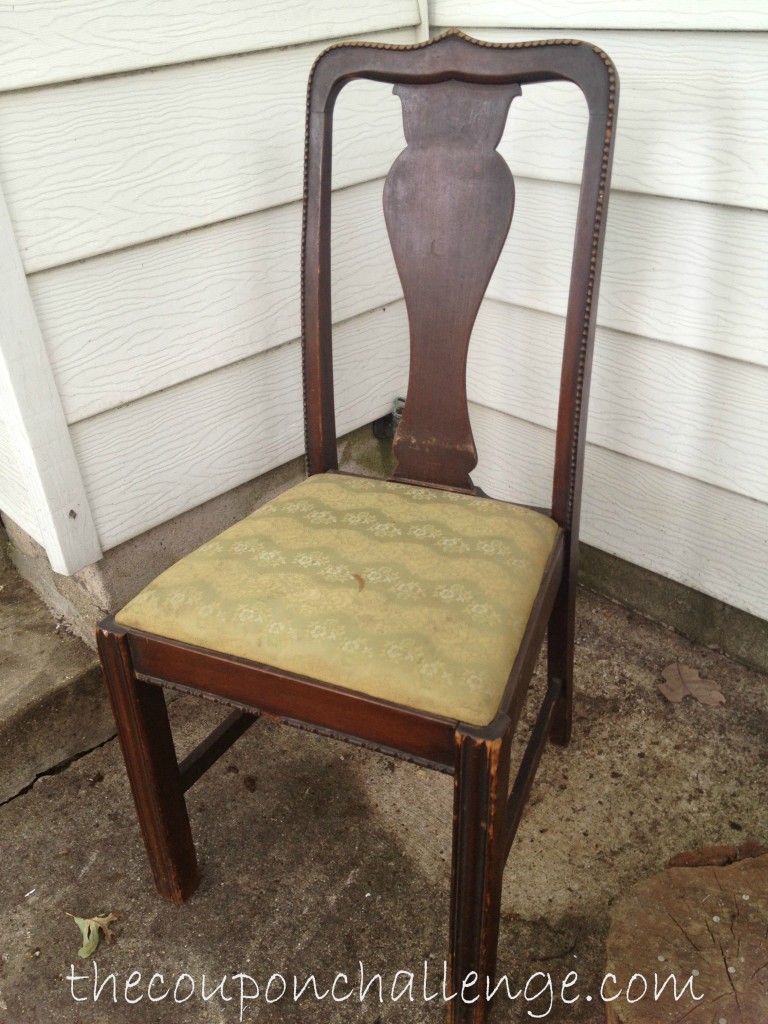
How many times have you been driving down the road, and seen a sad little chair just hanging out on the curb? Maybe it is a tad dirty, scratched up, or just plain ugly. Either way it is destined for the garbage dump. Or is it?
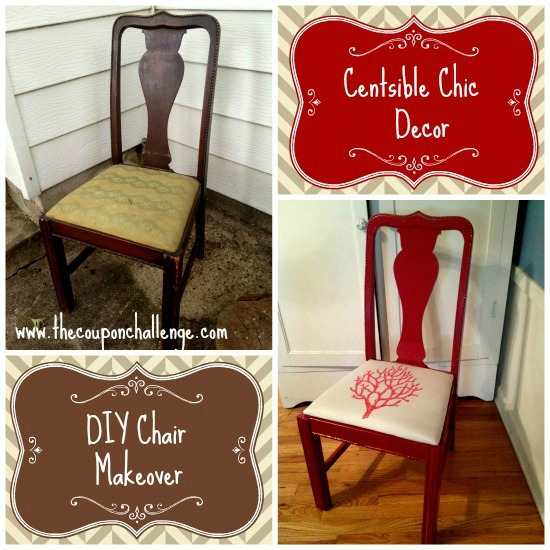
Why not rescue that ugly or beat up old chair and turn it into something amazing? With just a little work and minimal supplies, you can easily make an old chair into something new and fresh. Not sure how? Take a look below at how you can get “centsibly chic” and do your very own DIY chair makeover!
First, let’s take a look at the supplies you will need. You may not use all of these items, but they are helpful to have on hand just in case. Most of these items can be found at your local craft store.
Supplies Needed:
-An old chair. Look for something solid. Everything else in the way of flaws can typically be fixed so don’t get too hung up on those. Check out your local thrift stores and garage sales for inexpensive finds. Our sample picture chair was a garage sale steal for just $1.
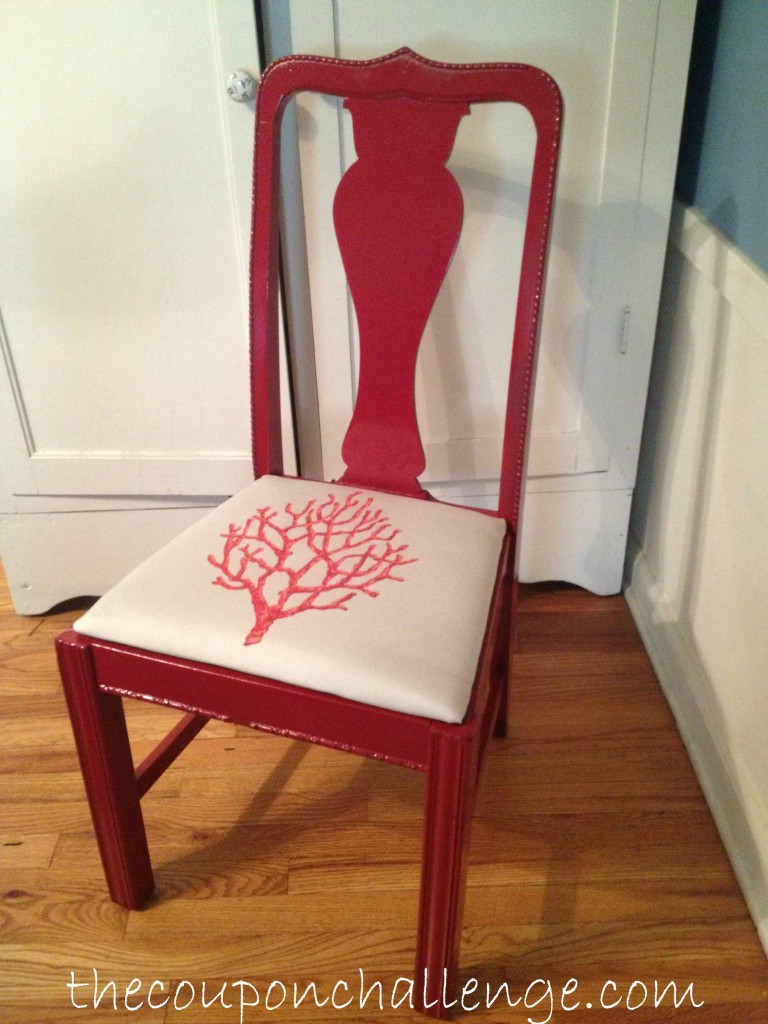
-Paint. Spray paint or roll on paint will do. Choose a color and finish that speaks to you! For our sample picture we used “Colonial Red” by Rustoleum for around $3.50 a can.
-Paint brushes
-Sandpaper, mid grade
-Old towels
-Drop cloth
-1 yard of fabric. For our sample picture we used a piece of upholstery fabric found at a yard sale for just $1. Visit thrift stores or browse the bargain bins at your local craft store.
– Staple gun, staples
-Screwdriver
-Febreze
-Baking Soda
Directions:
1. Before you begin, lay a drop cloth down to protect your floors or driveway.
2. Next, take a damp cloth and some basic household cleaner and wipe down the hard surfaces removing any dirt and debris.
3. Using your sandpaper, lightly sand any flaws or scratches to smooth them out. Lightly sanding the wood will also help the paint adhere better.
4. Remove the chair cushion by unscrewing the four screws that can be found underneath the cushion. Set these aside in a safe place so you don’t lose them! Set the cushion aside.
5. Now you are ready to paint! If rolling on your paint, apply two coats and allow for plenty of drying time in between. If spraying, hold your can a good 6 inches away and begin spraying, moving the can slowly. Apply a second coat if needed.
6. While your paint is drying, you can start working on the seat cushion. If it is stinky or dirty, you can sprinkle some baking soda on it and use a vacuum attachment to clean it off. You can also give it a generous spray of Febreeze to freshen up the fabric and remove odors.
7. Now that your cushion is all fresh and clean, you can recover it with the fabric of your choice. To do this, turn it over and place it face down on the back side of the fabric. Pull the fabric over the sides of the chairs, and pulling it tightly, use your staple gun to secure it into place. Do this slowly while pulling slowly, so you can be sure you get a good fit that is wrinkle free. Staple all along the perimeter of the seat, being careful not to cover the drill holes.
8. By now, your paint should be dry and your cushion can be placed back on the chair. To do this, simply put the cushion back on and use the screws to secure it.
9. To finish, you can take your sand paper and lightly distress the corners for an aged look, or just leave as is.
That’s it! In no time flat and with minimal supplies; you can turn an old chair into something chic! This chair is now a far cry from its original form, and looks like something straight out of a boutique. Little would anyone know it was really a garage sale find. So keep your eyes peeled and the next time you see a piece that needs a little TLC, you know exactly how to do it.


What a difference a coat of paint and some new fabric makes. Thanks for sharing on Merry Monday linky party.