Pinterest is all the rage right now. Showing off your pics can help get traffic to your site and in turn, potentially increase your revenue.
Adding a Pinterest Tab to your Facebook Page can help get your Pinterest Page in front of your fans and hopefully, get them repining your photos.
How to Set Up a Facebook Pinterest Tab:
- Sign up for a Pinterest account if you haven’t already.
- Go to https://apps.facebook.com/iframehost-pin/to install a Static IFRAME Tab.
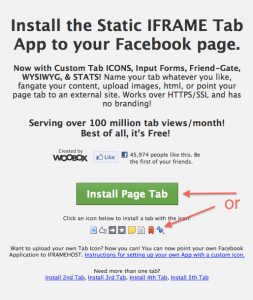
- Click “Install Page Tab” or click on an icon to install a tab with the icon. (I chose to add a static Pin icon)

- Authorize the Application and choose your Page to add the app.
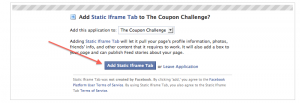
- Click “Add Static IFRAME Tab”.
- You will be redirected to your Facebook Page.
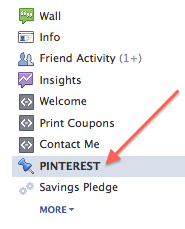
- To complete your tab setup – click on the new tab link on the left hand side of the page.
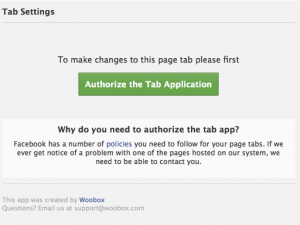
- You will be required to “Authorize the Tab Application” again.
- Click to “Allow” your basic information & email address.
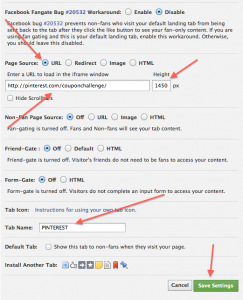
- Under “Page Source” Select “URL” and enter your Pinterest page link (this will load the URL in the iframe window).
- Change the height of your page to remove the scroll bar. Mine is set to 1400px, but you may need to increase it if you have more boards.
- Name your Tab (I choose PINTEREST).
- Click “Save Settings”.
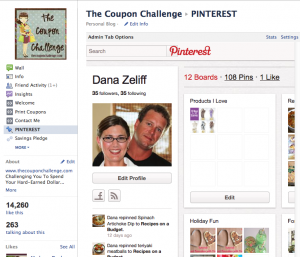
- View your new Pinterest tab and make adjustments as needed.
Make sure to follow The Coupon Challenge on Pinterest and Madame Deals on Pintrest!
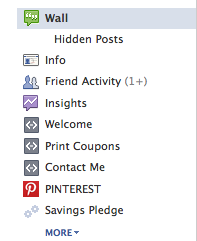
***You may also add a custom icon to your Pinterest Page by following the instructions HERE. You would start with #7 above after following the Help instructions for a custom icon. After writing this post, I changed to a custom Pinterest Icon. You can view my custom icon on The Coupon Challenge Facebook Page.
You can search all of our articles by typing in Ask A Blogger.

Leave a Reply